About fabrics
How to cut checked fabric
A checked or striped garment looks expensive when the pattern meets at the seams. Here is how to plan the layout and how much extra fabric to take.

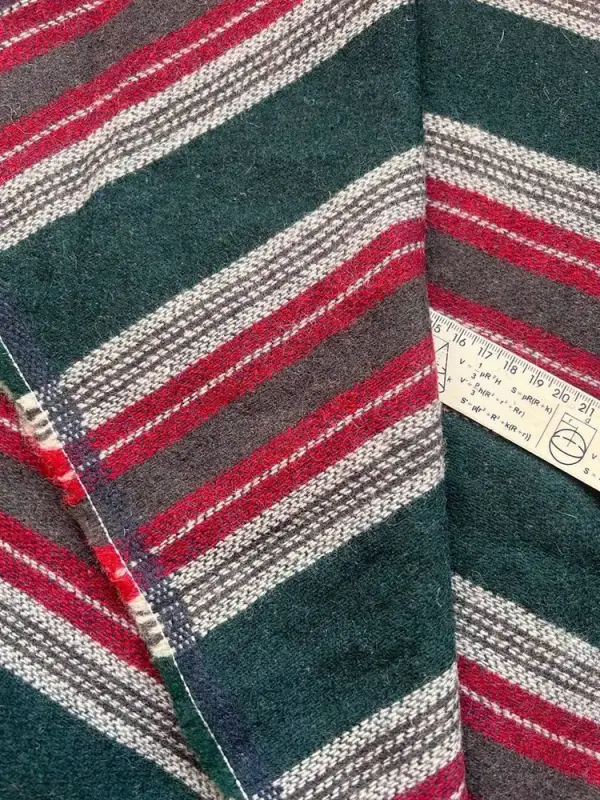
- +10–20 %extra, more for a large check
- Single layercuts more accurately
- Even or not?check before cutting
- On the biasyoke and collar need no matching
What kind of check you have
First find out whether the check is even. Fold the fabric along the diagonal of a check: if the stripes meet, the check is the same in both directions and pieces can be laid either way.
If the stripes do not meet or the pattern has a direction (a wide stripe on one side only), the check is uneven. Then all pieces are laid the same way, as on a napped fabric, and you need more extra.
Plan where the stripes go
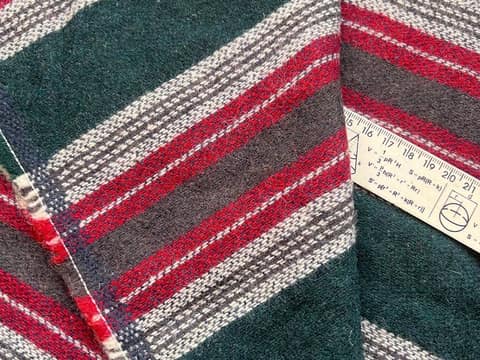
Choose the main, boldest stripe. Place it at the centre front and centre back, and keep the main horizontal stripe off the bust and hip lines: it makes them look wider.
Mark the lines of the check on the pattern at the hem, waist and armholes. These marks on neighbouring pieces must fall on the same stripe.
Cutting
Cut in a single layer, right side up: that way you see where the pattern falls. Lay the second half of a piece by flipping the pattern and matching it to the one already cut.
Side seams are matched by the stripes at the hem, the centre seam and opening at the centre of a check, the sleeve to the front at the front armhole notch.
Pieces that are hard to match are cut on the bias: the yoke, collar, cuffs, pockets. The check becomes diamonds and looks like a deliberate accent.
Sewing
Pin the seams at every main stripe or baste them. The layers shift, so a walking foot helps.
Before cutting, decatise the fabric: shrinking can skew the check a little, and it is better for that to happen before sewing.
How much extra to take
Sources
Facts checked against these pages. The text is our own.
Updated 19 October 2026
Questions
How much extra do I need for a check?
10 % for a small check, 15 to 20 % for a medium one, and one more check height per piece length for a large check.
How do I tell whether a check is even?
Fold the fabric along the diagonal of a check. If the stripes meet, the check is even.
Which pieces do not need matching?
Those cut on the bias: the yoke, collar, cuffs, pockets. The check becomes diamonds and reads as an accent.
Suiting wool in the shop now
See all- Wool blend suitingКостюмна · A002651.65 m × 3.00 m · 250 UAH/m750 UAHfor the whole piece
- PopularWool blend suitingКостюмна · A0020211.55 m × 1.75 m · 200 UAH/m350 UAHfor the whole piece
- Wool blend suitingКостюмна · A0014121.50 m × 1.10 m · 200 UAH/m220 UAHfor the whole piece
- Wool suitingКостюмна · A001261.60 m × 1.00 m · 300 UAH/m300 UAHfor the whole piece
- Wool suitingКостюмна · A001191.60 m × 0.95 m · 300 UAH/m285 UAHfor the whole piece
- Wool blend suitingКостюмна · A000571.55 m × 1.00 m · 200 UAH/m200 UAHfor the whole piece
- Wool blend suitingКостюмна · A003311.50 m × 1.50 m · 200 UAH/m300 UAHfor the whole piece







How to cut checked fabric
See every piece in stock, or call us if you would like advice.